
Real before-and-after projects across the Chicagoland area.
Drag the gold handle to reveal the finished work
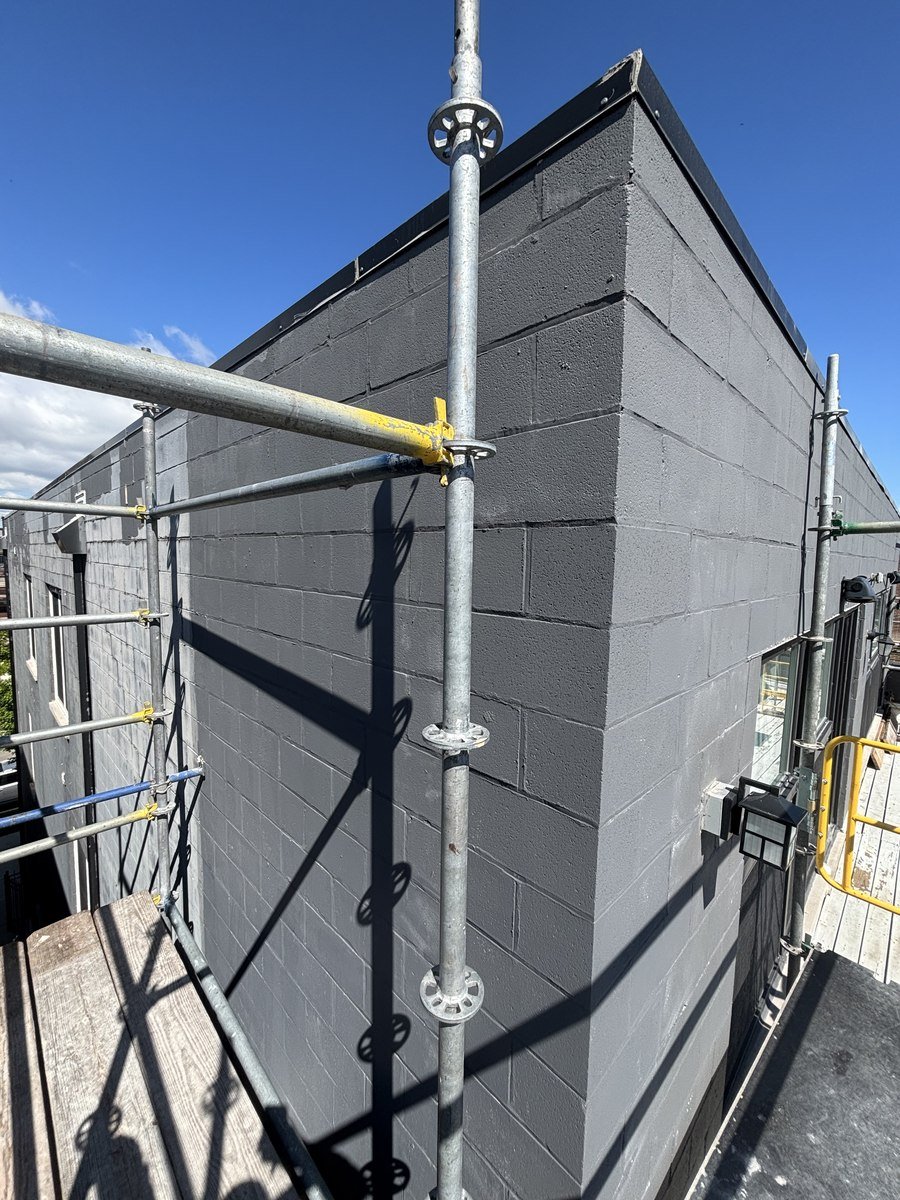
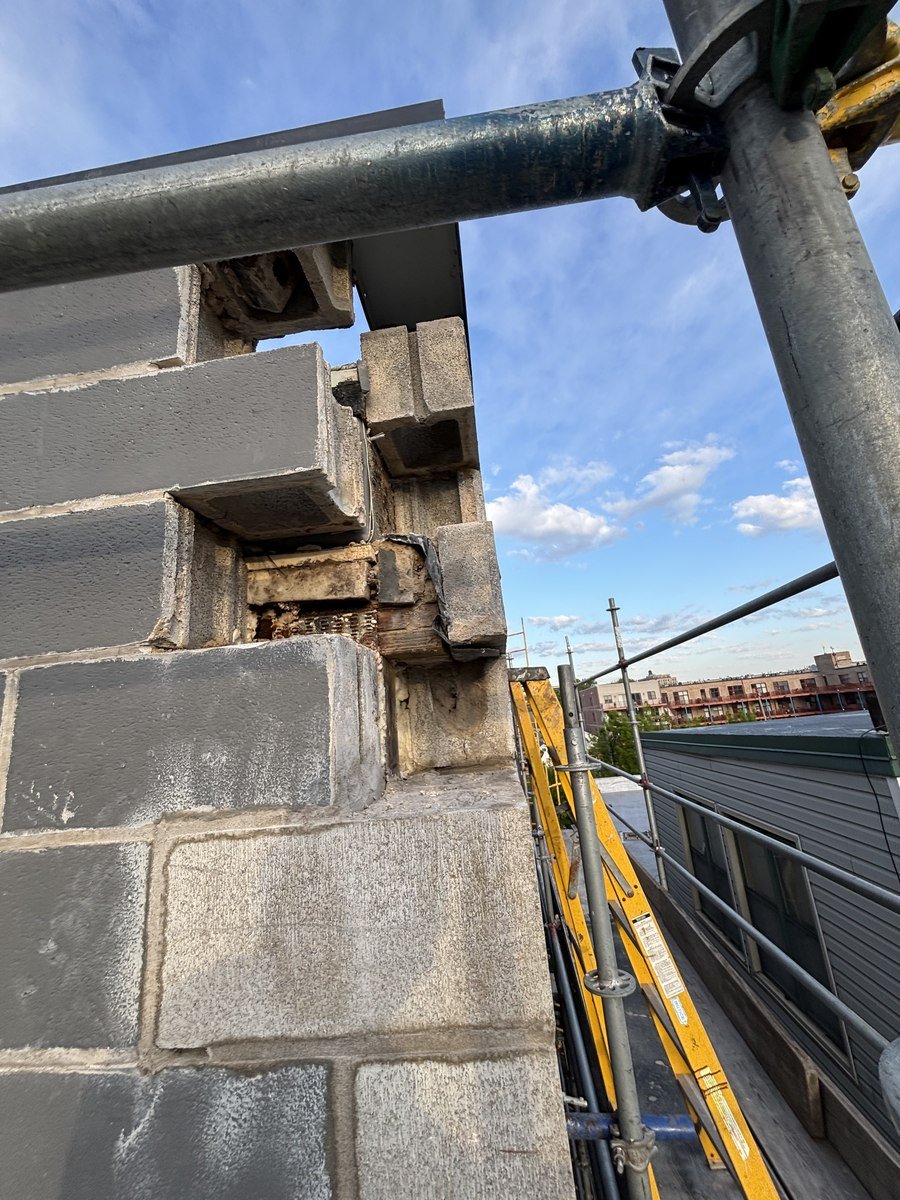
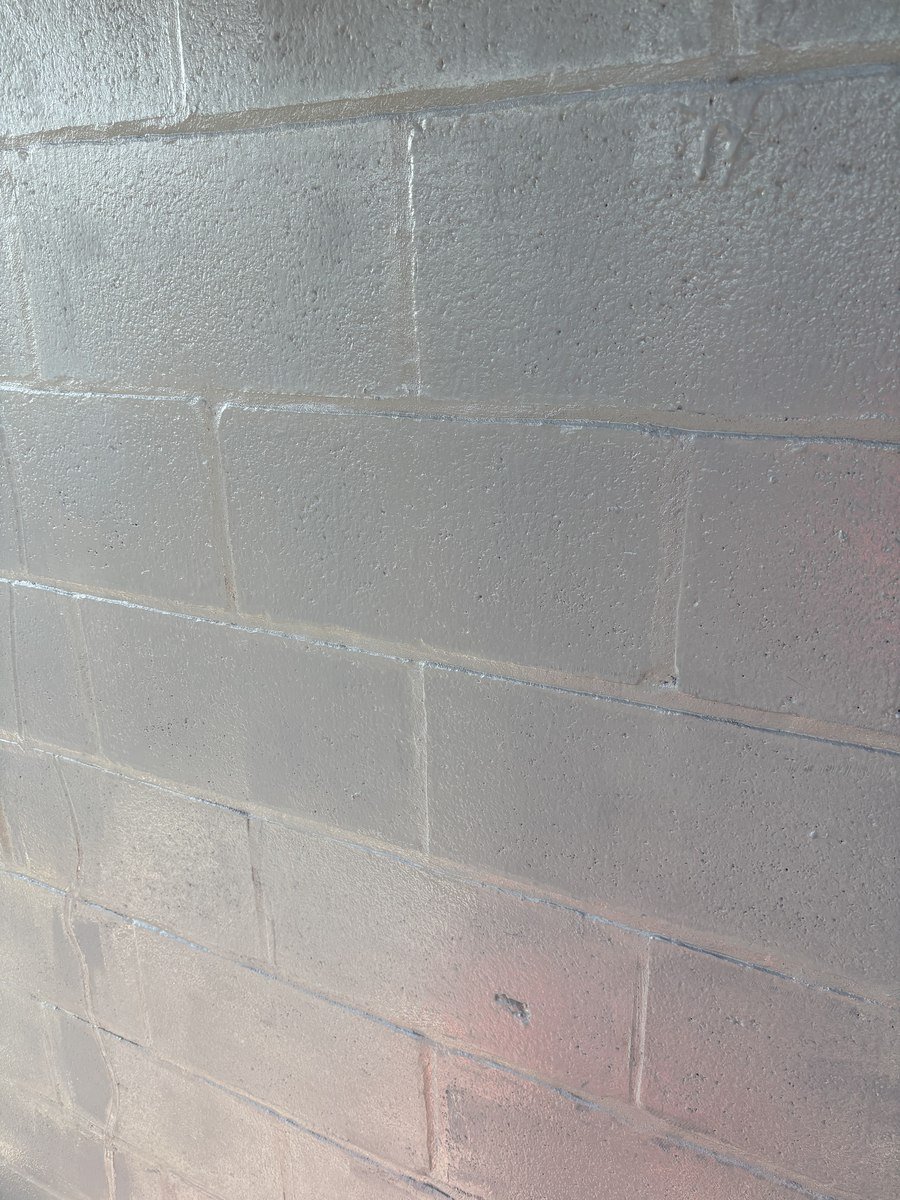
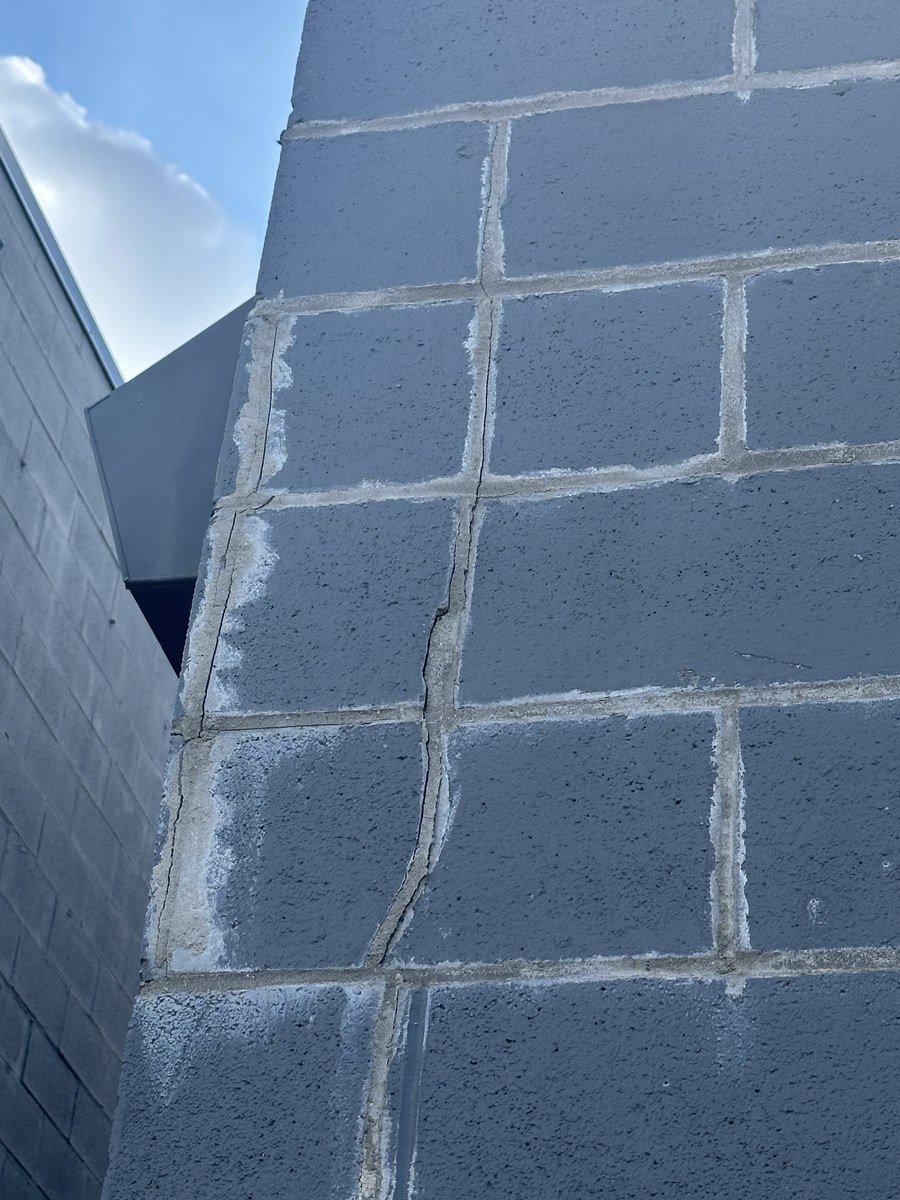
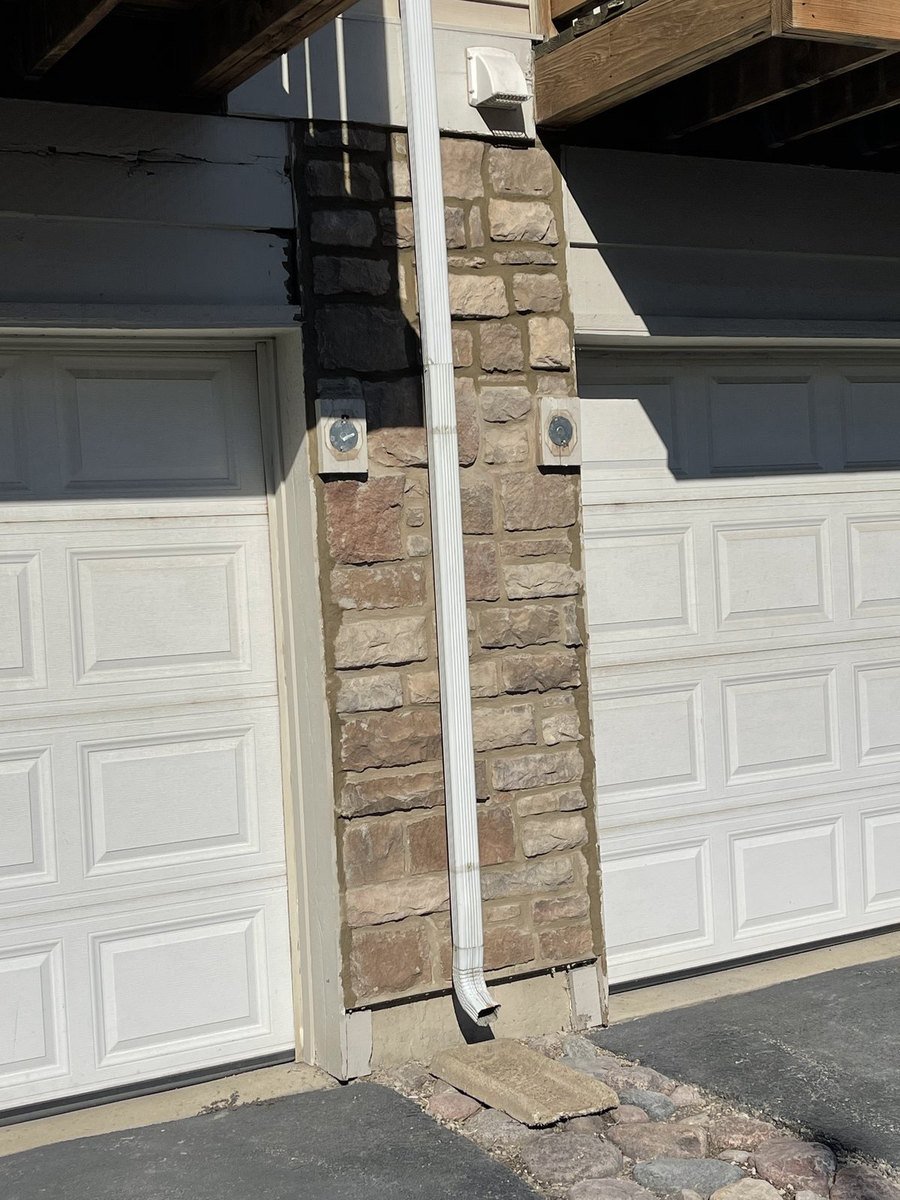
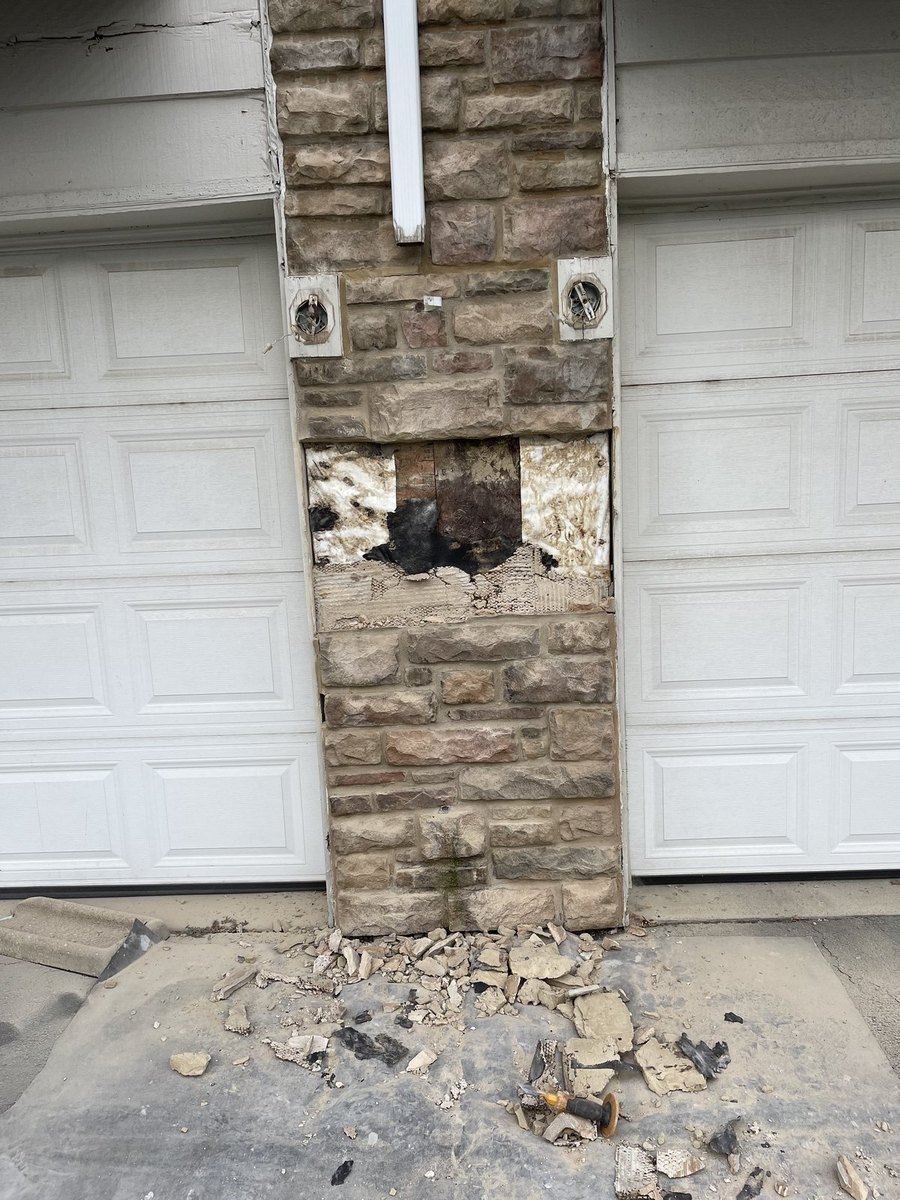
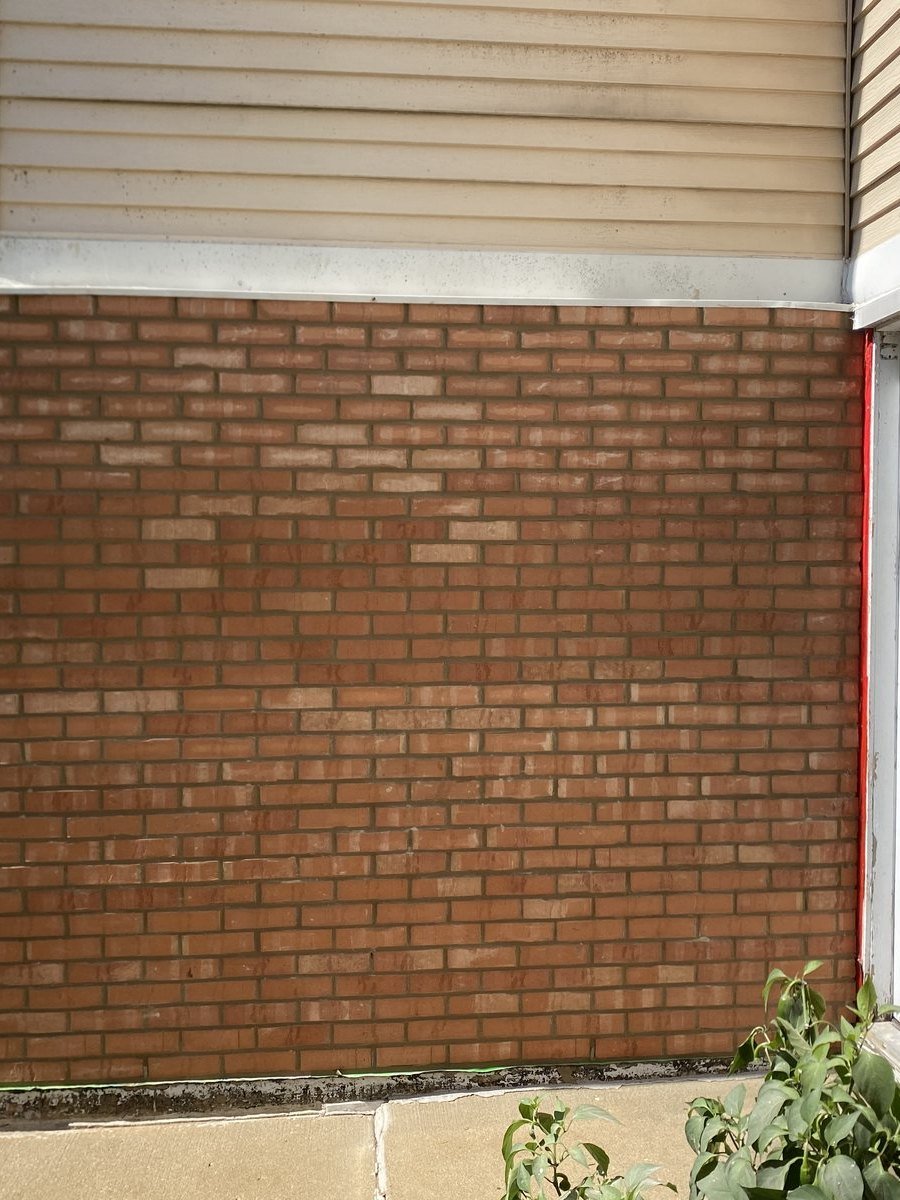
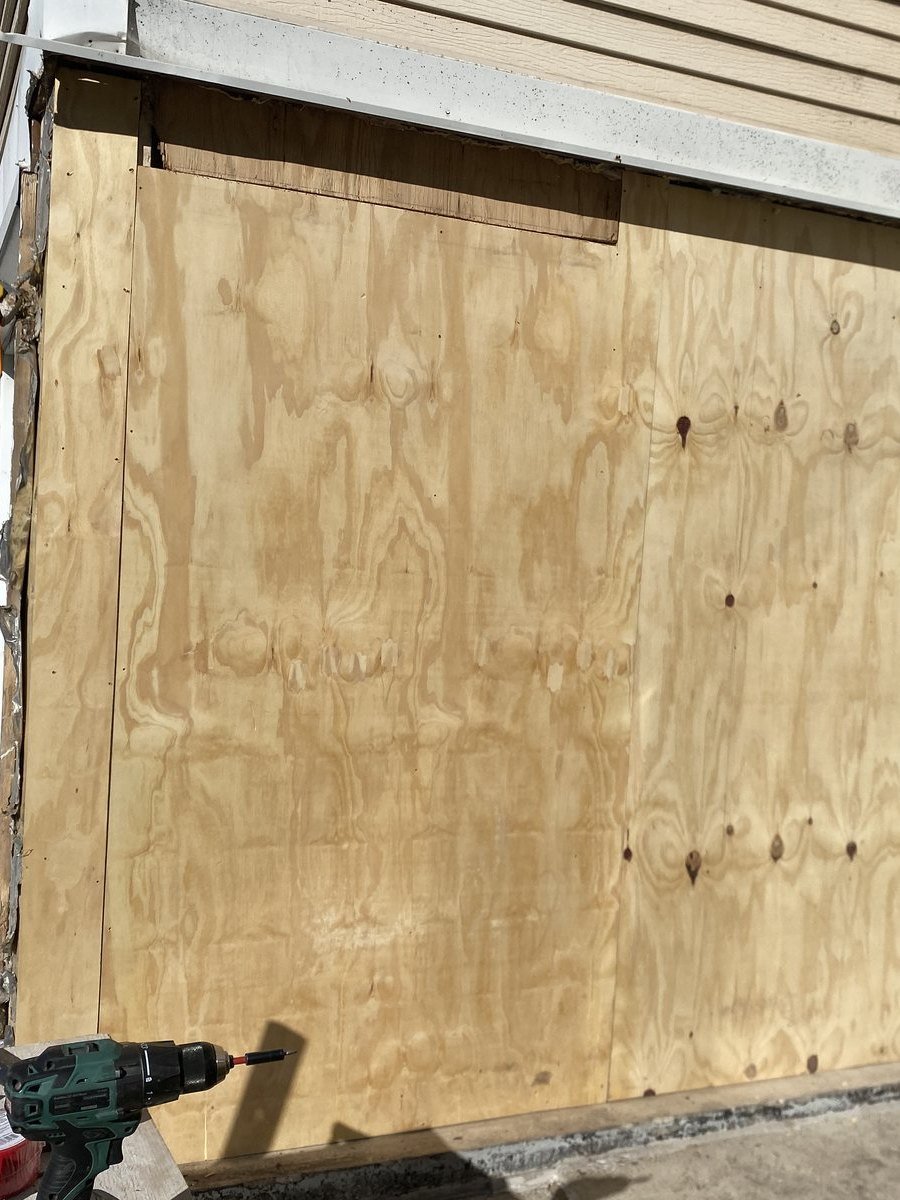
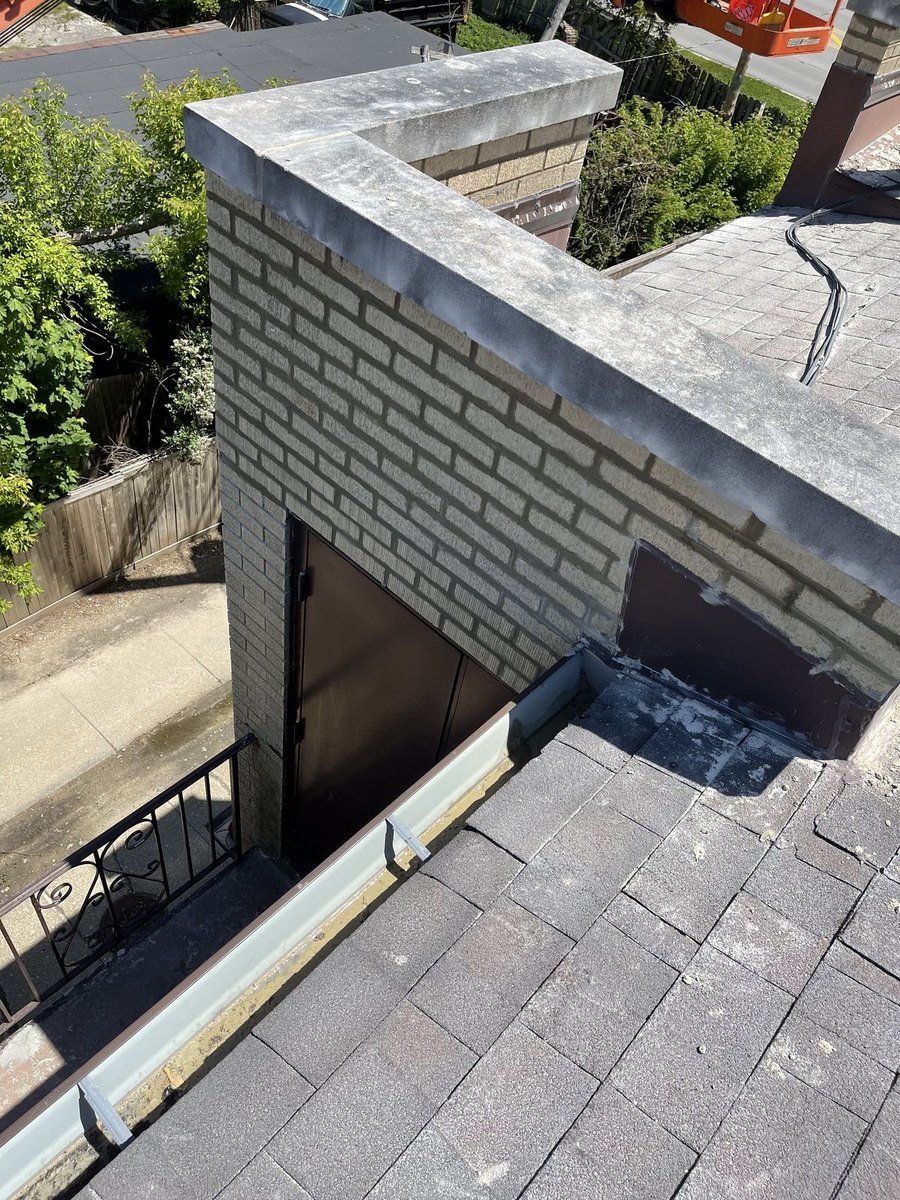
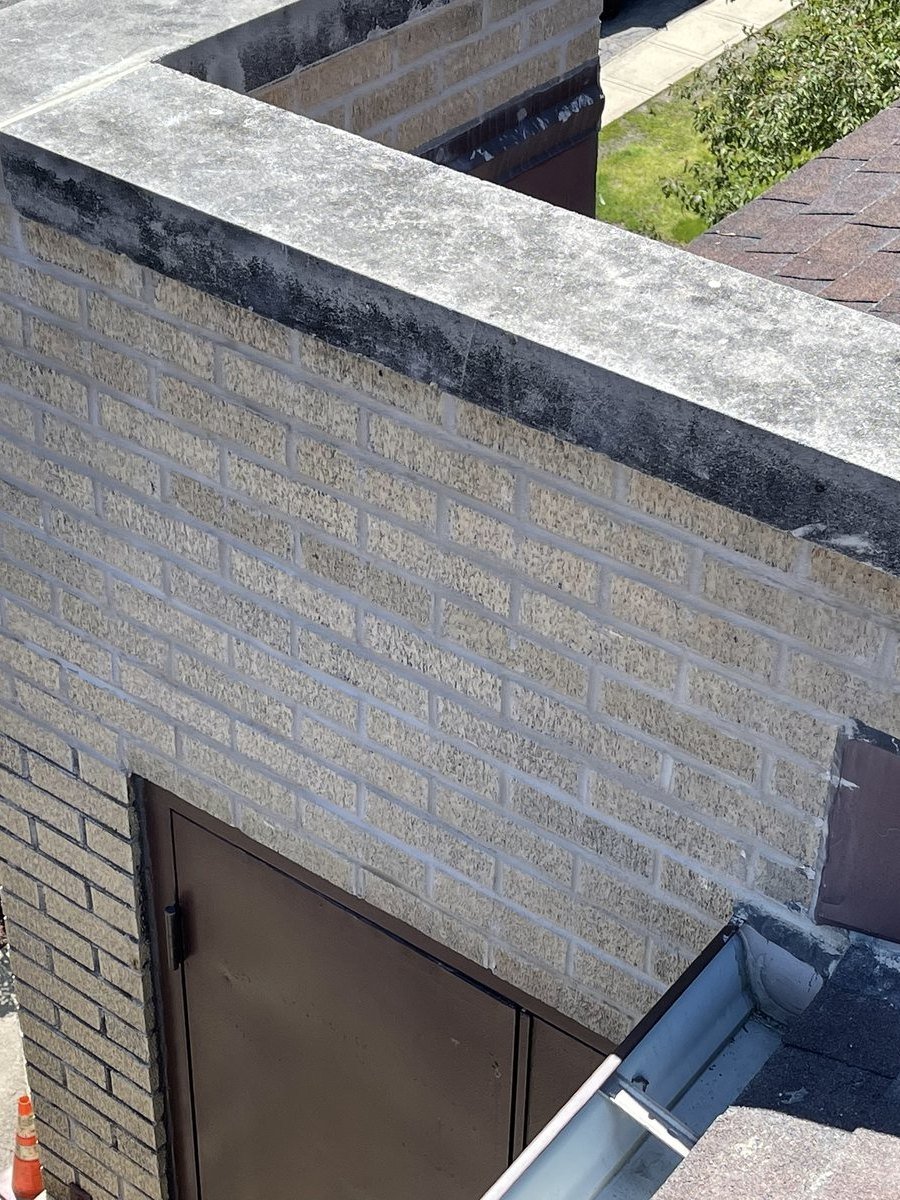
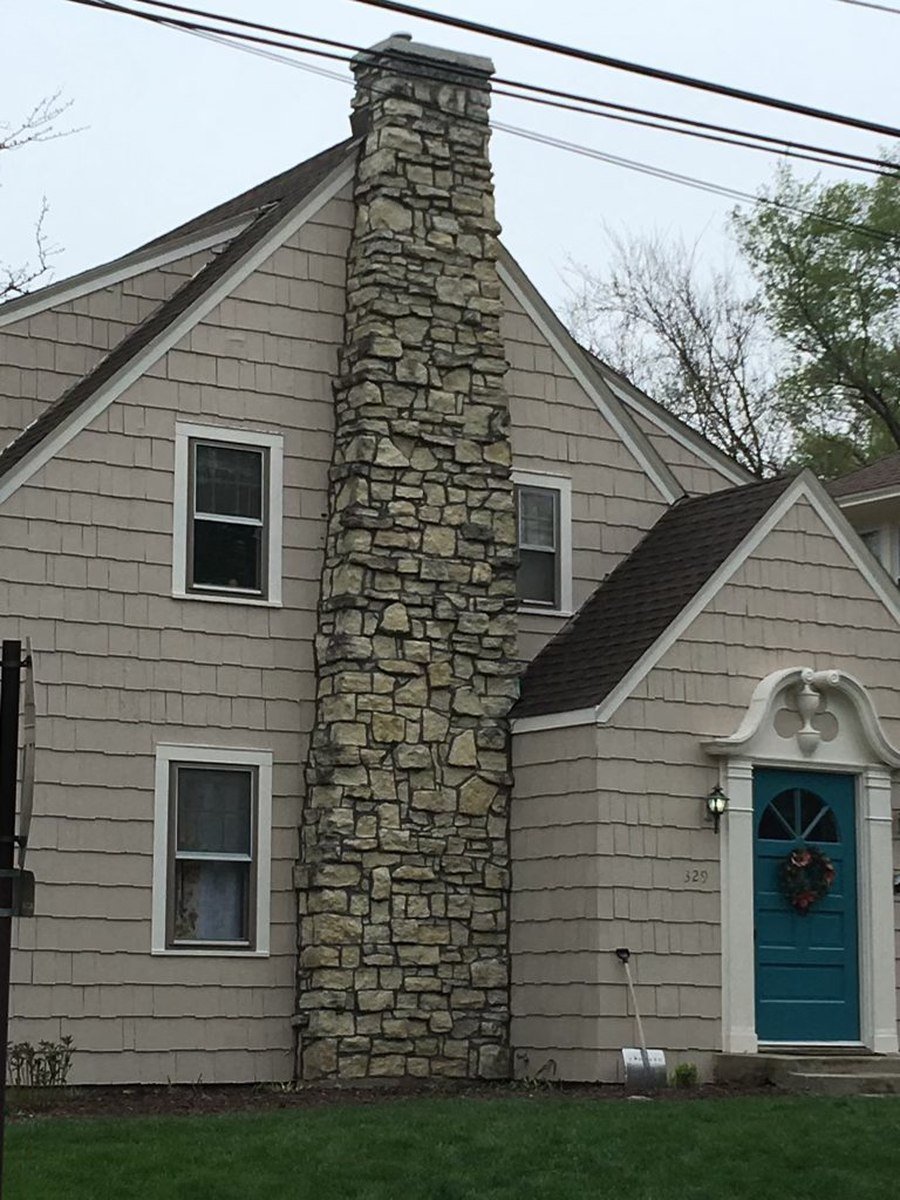
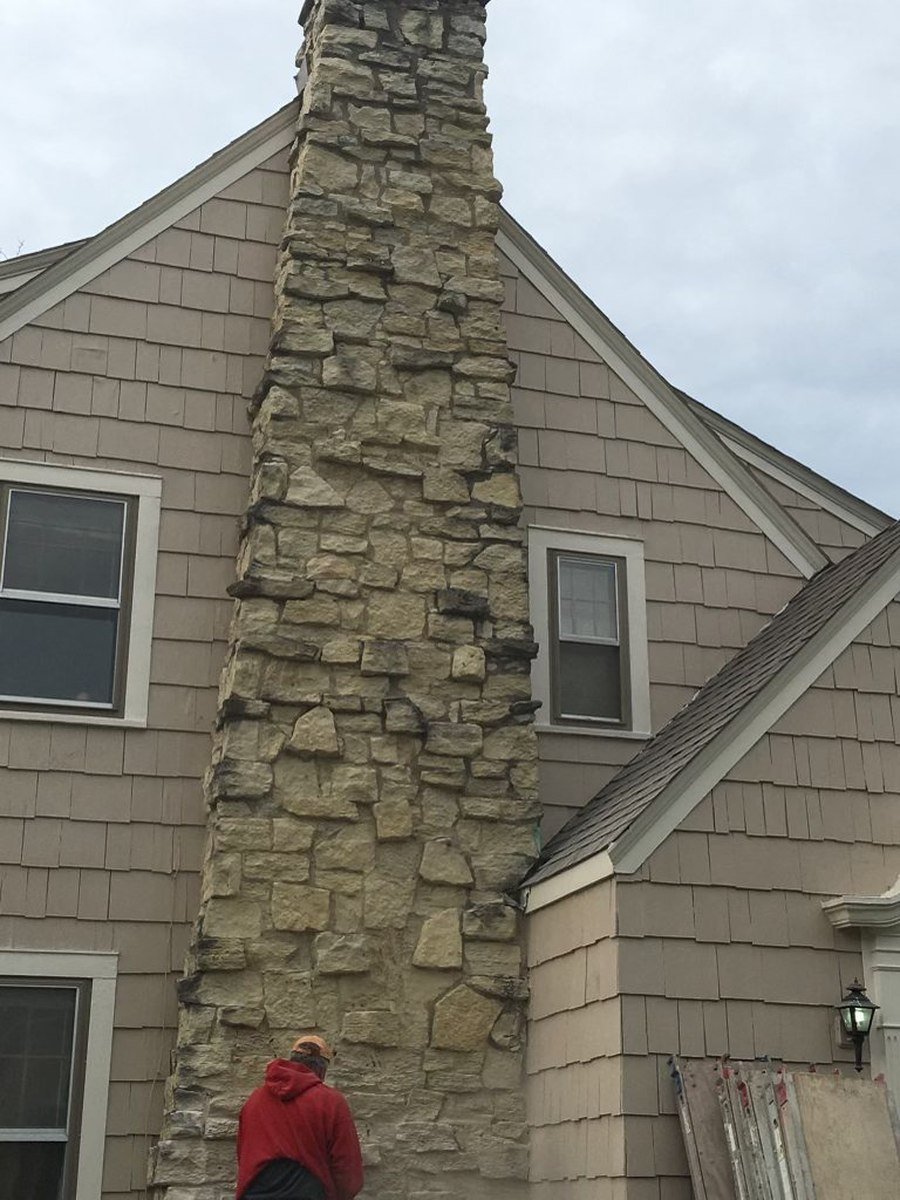
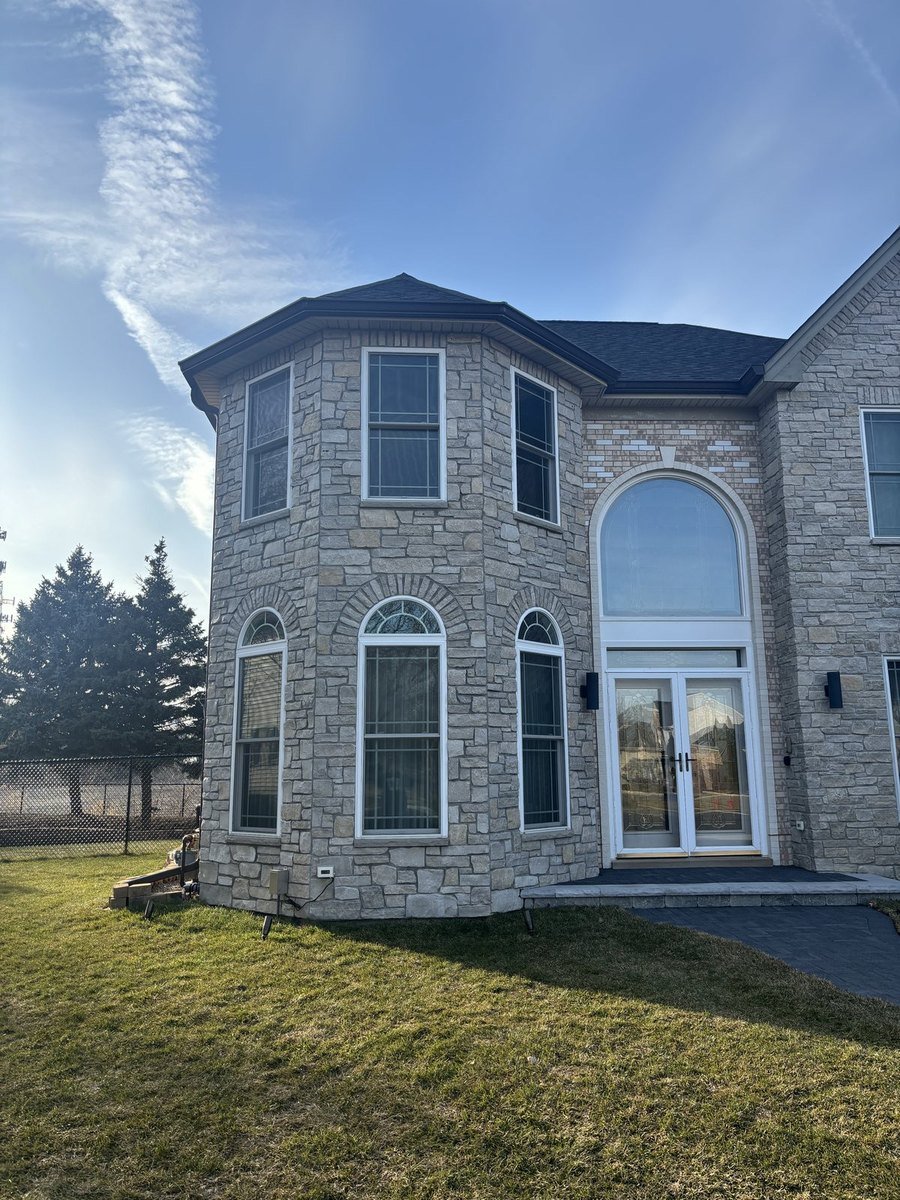
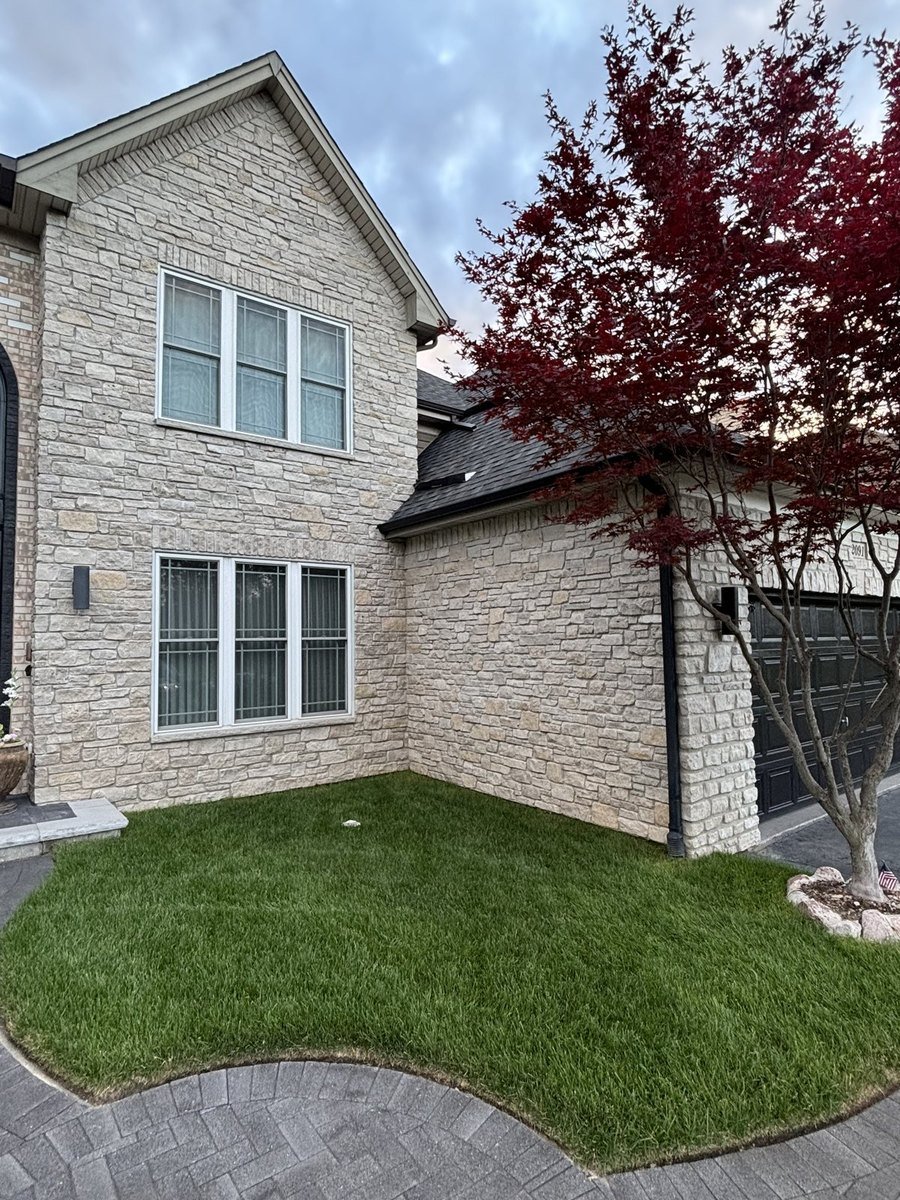
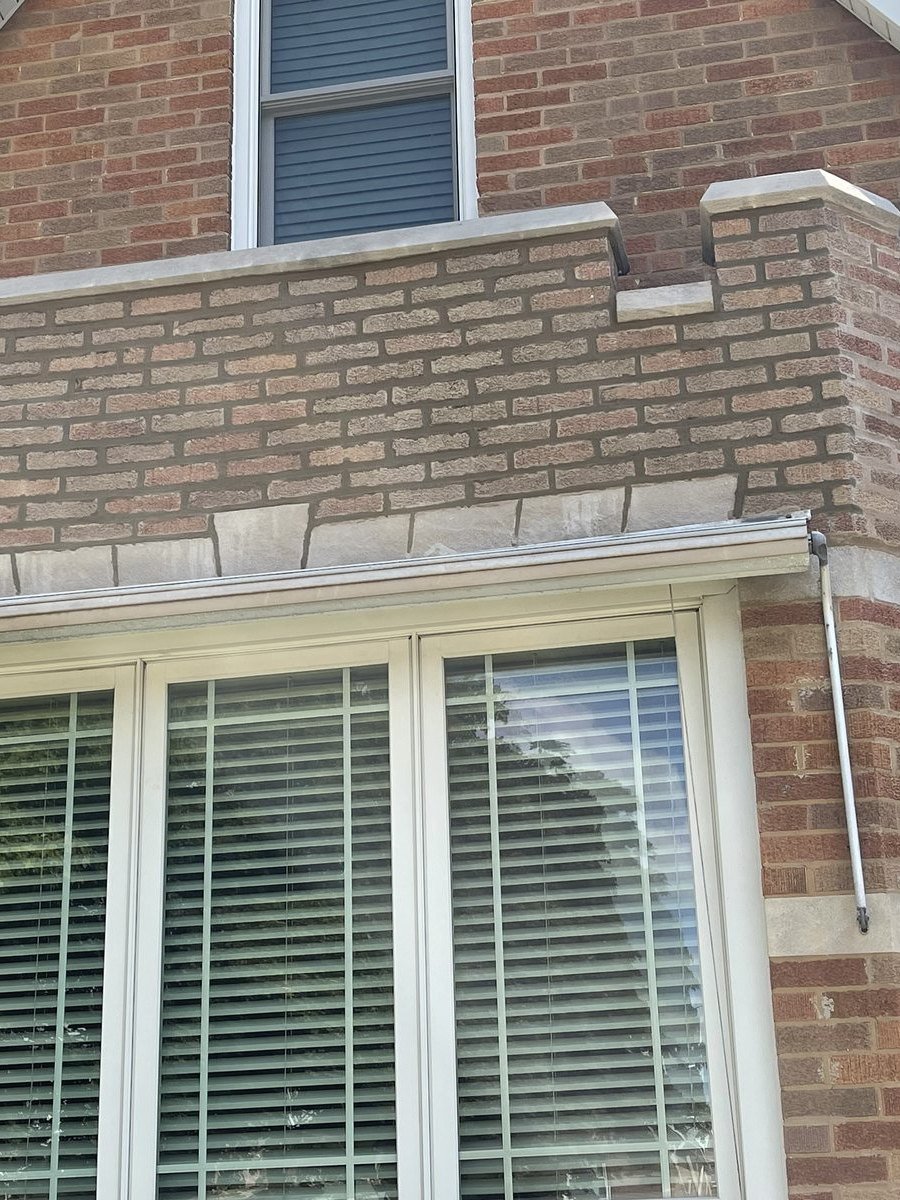
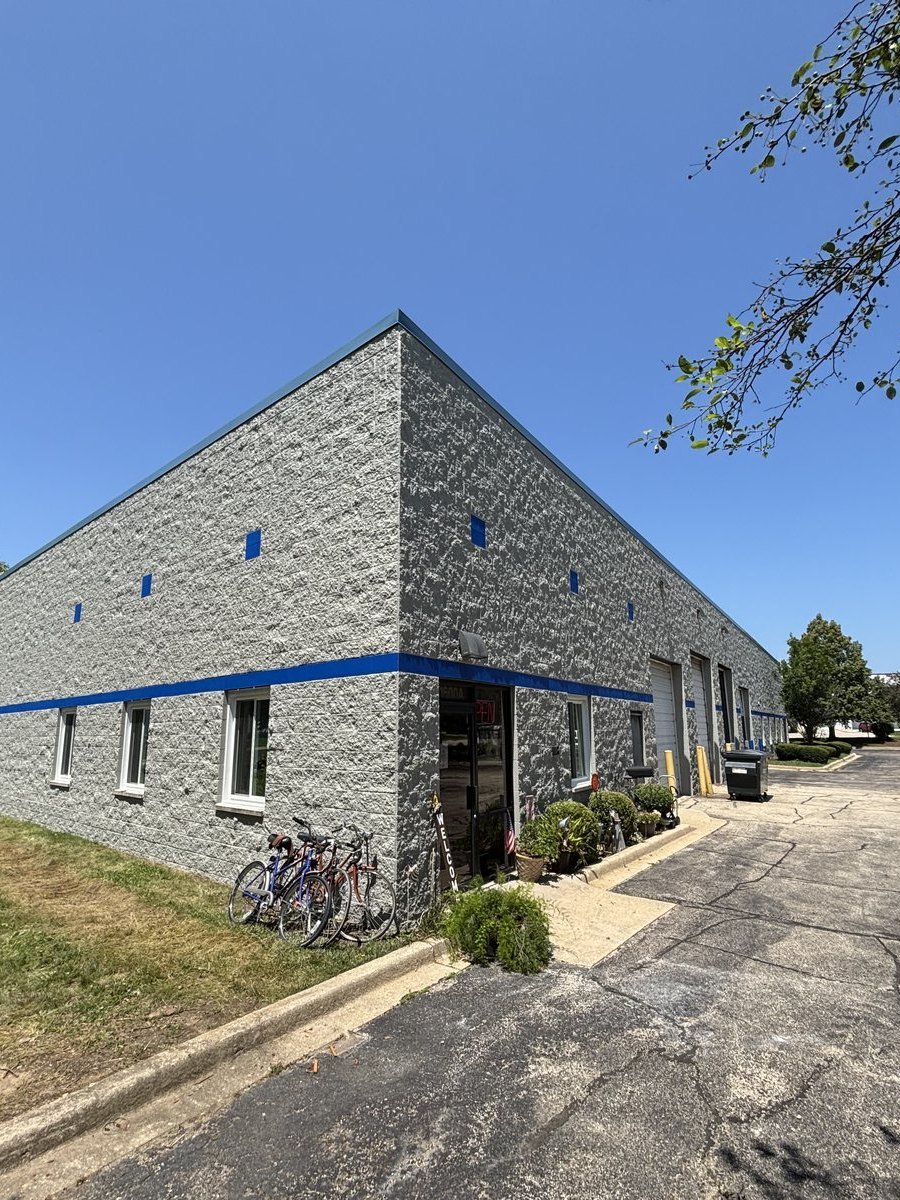
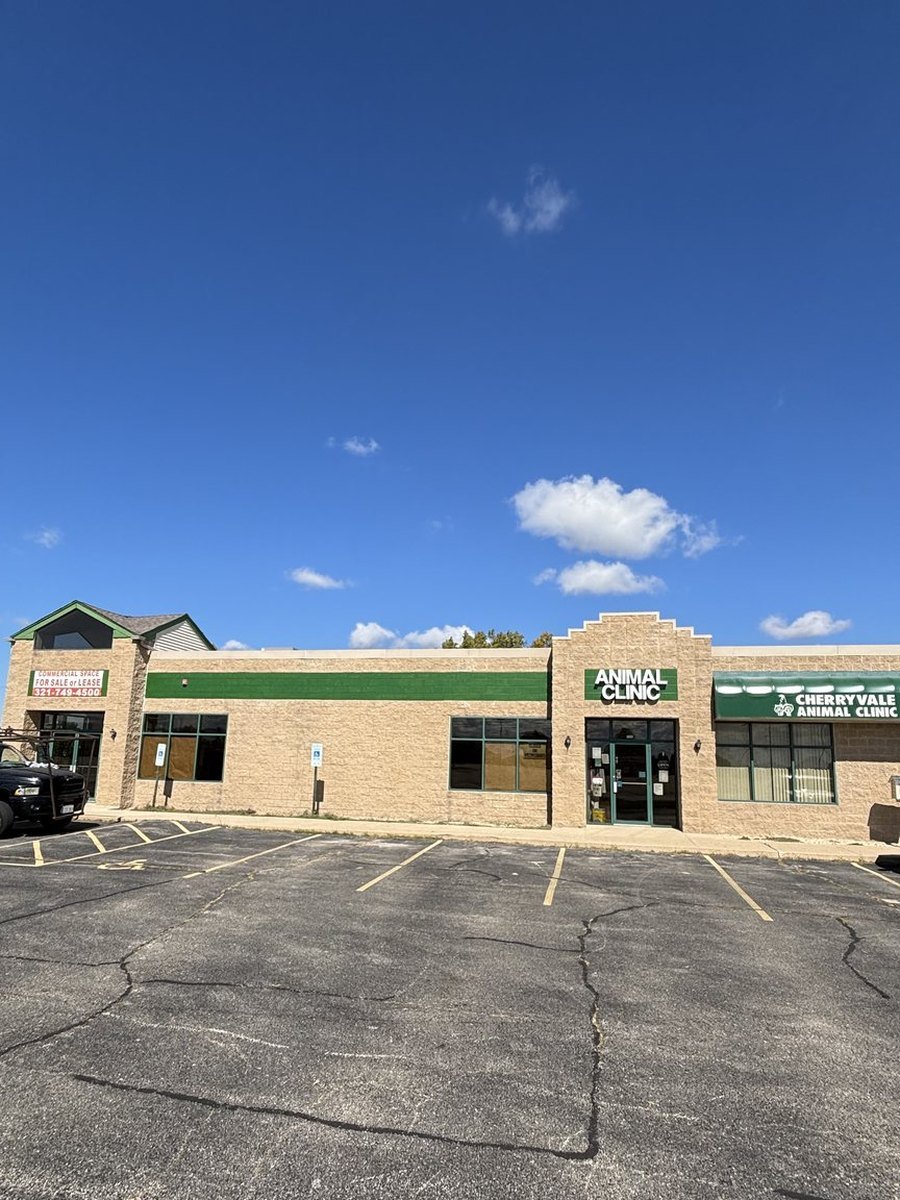
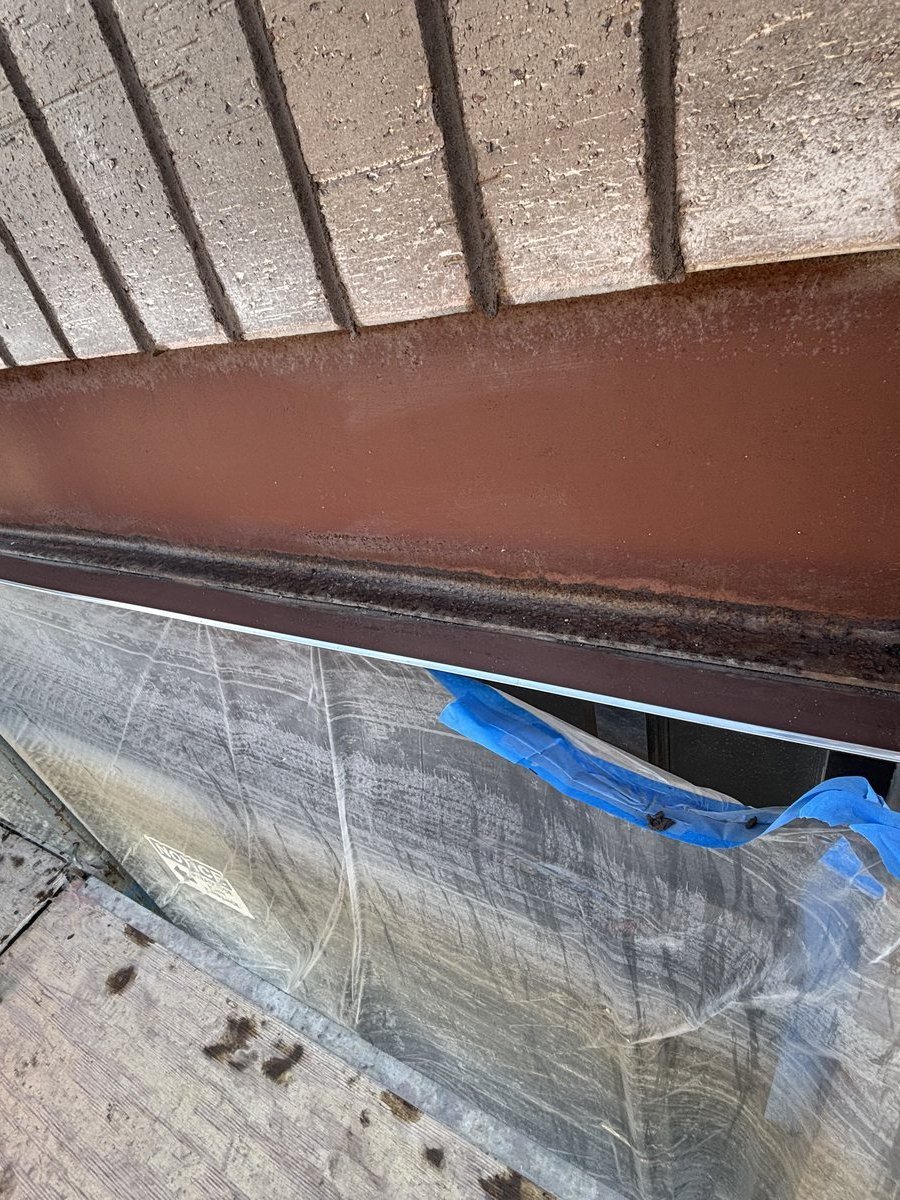
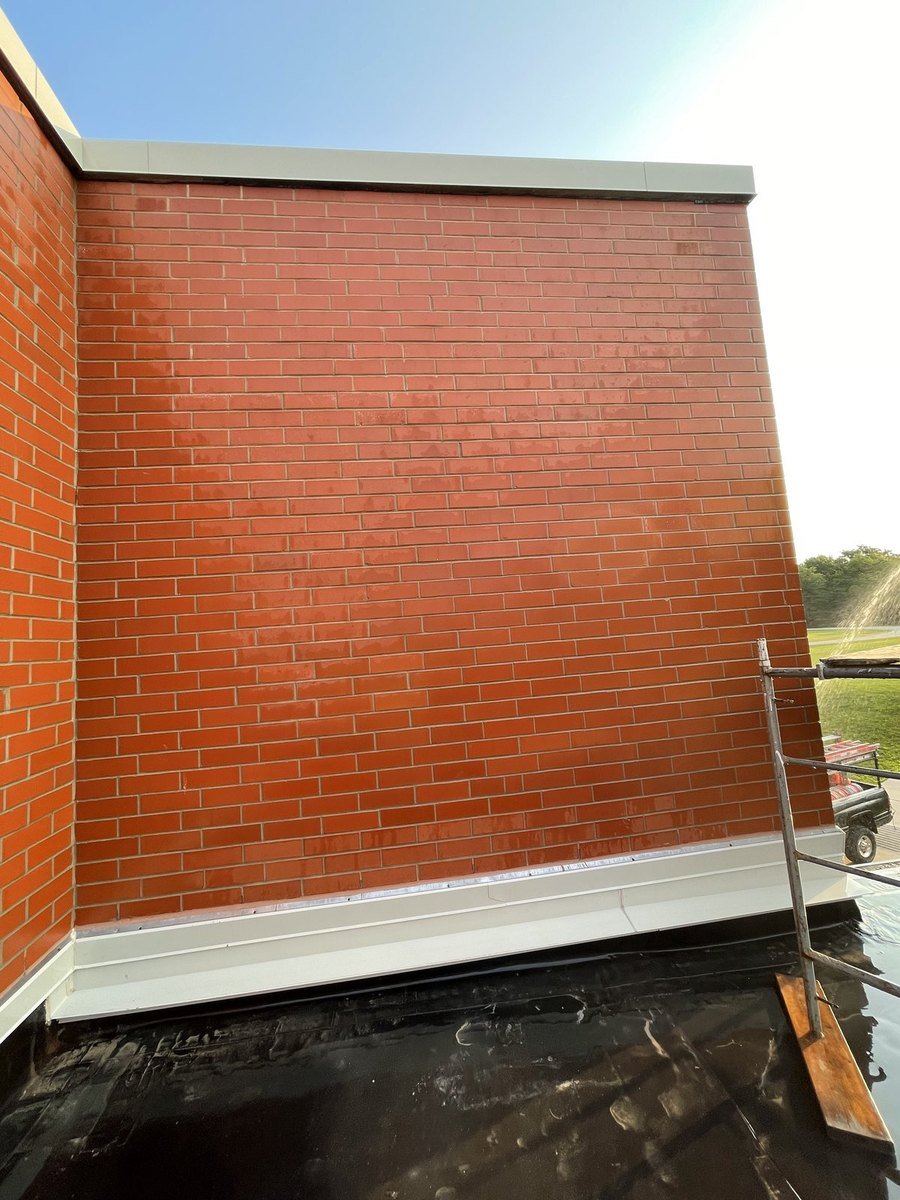
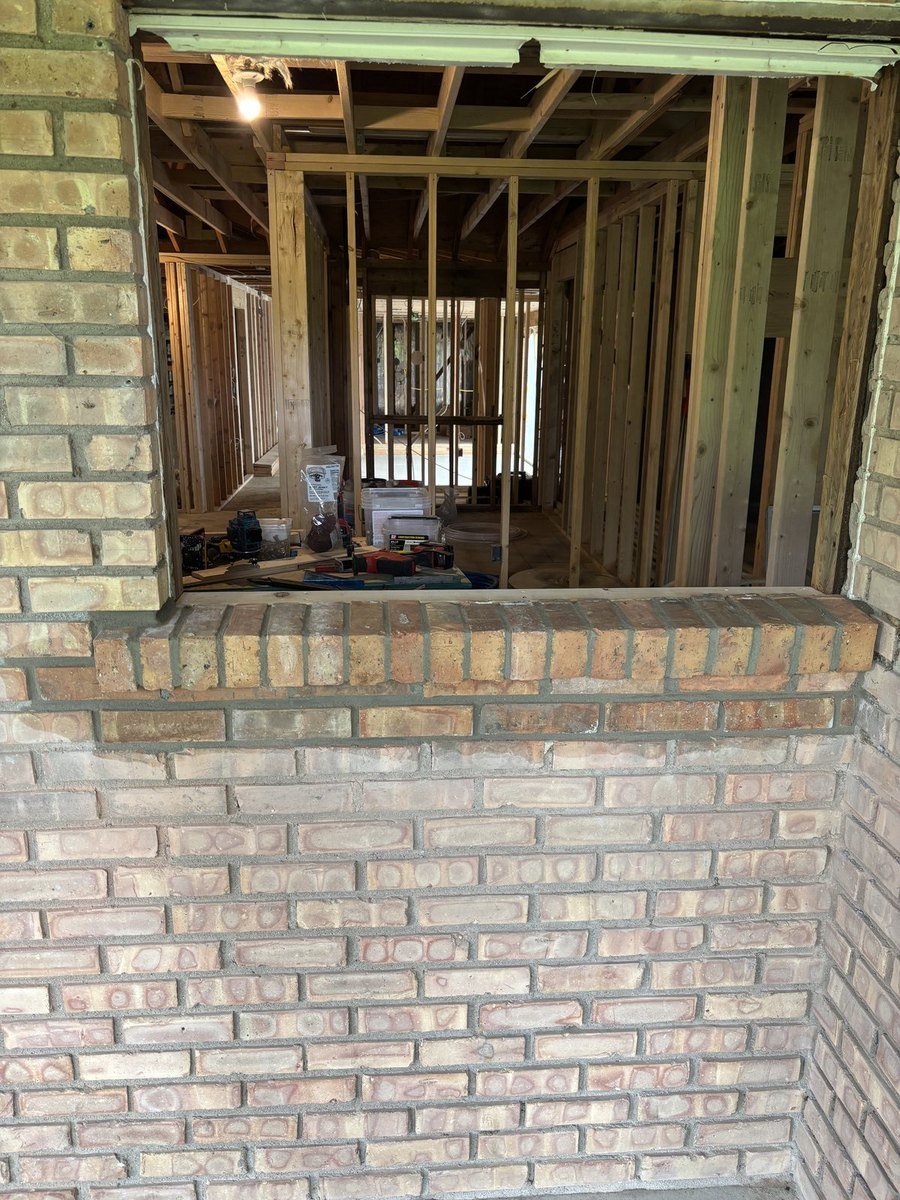
From failed joints to a sealed, finished exterior — here's what each stage of a masonry restoration actually looks like.
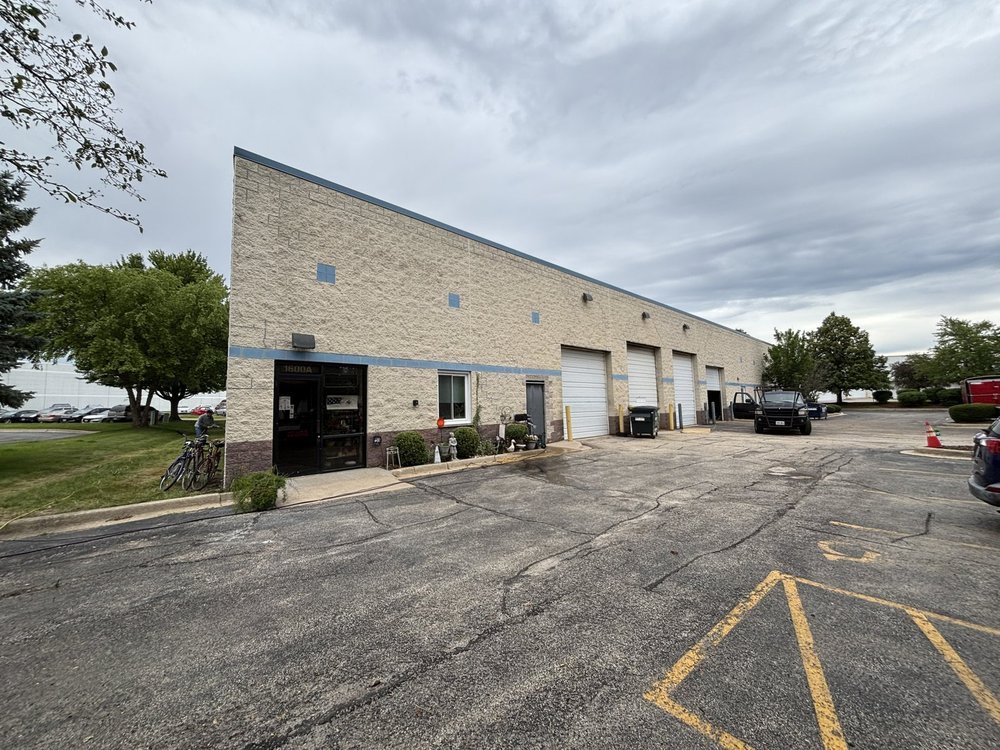
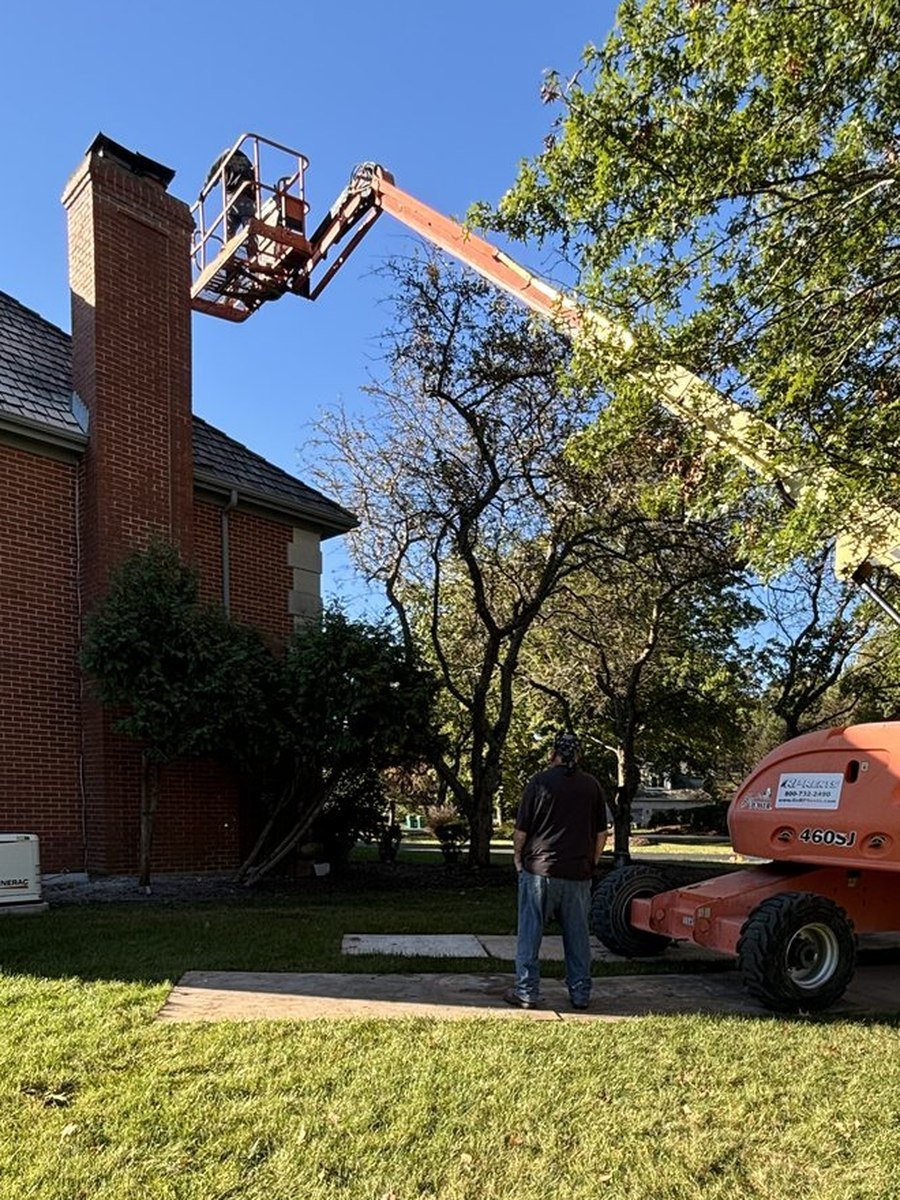
Tired mortar joints and a dated finish across the full building envelope.
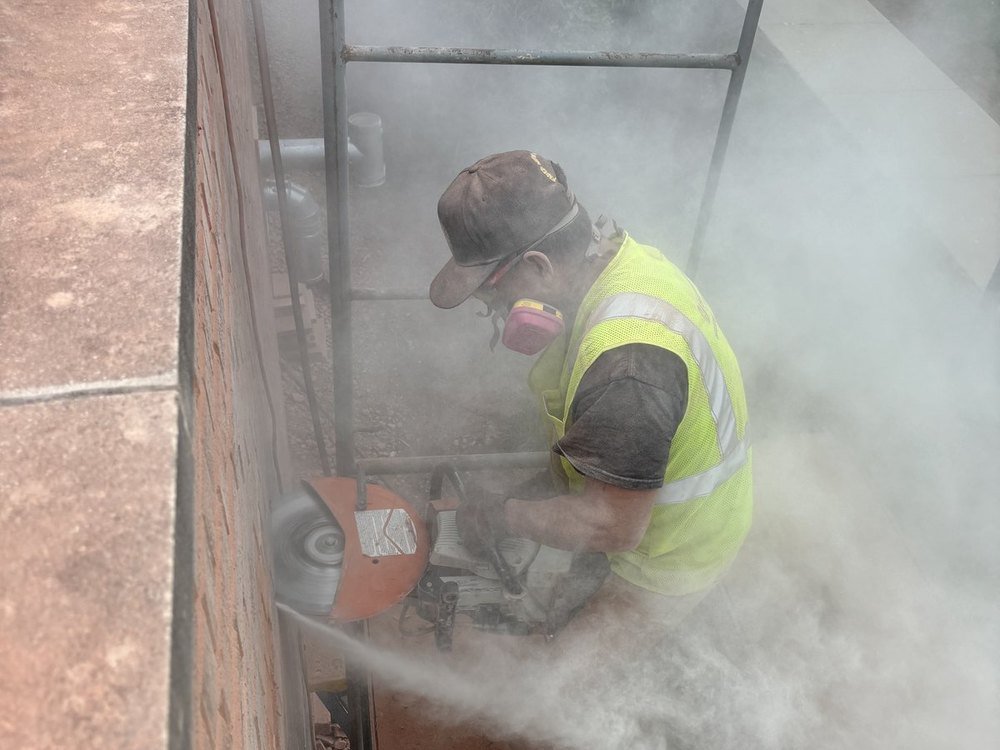
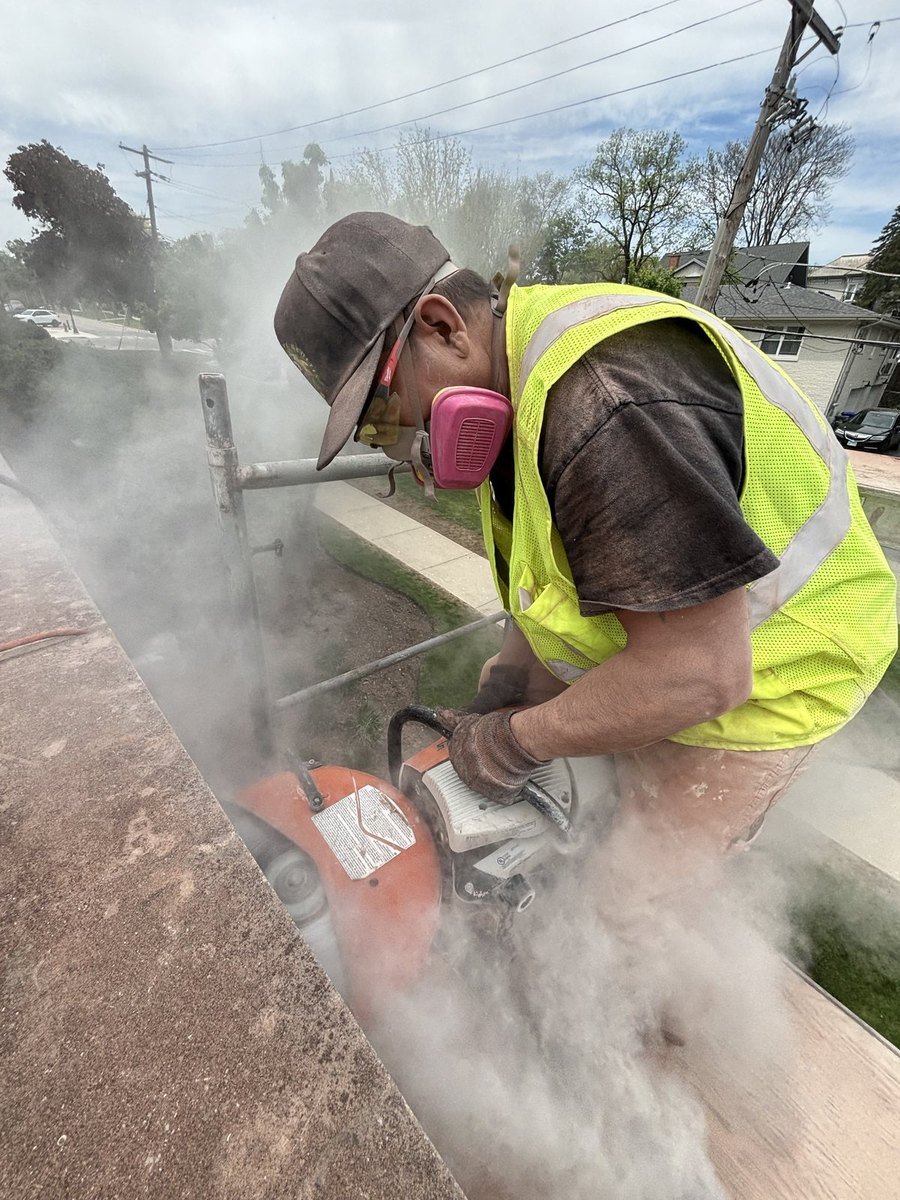
The old, failed mortar is cut out to the correct depth — the step most shortcuts skip.
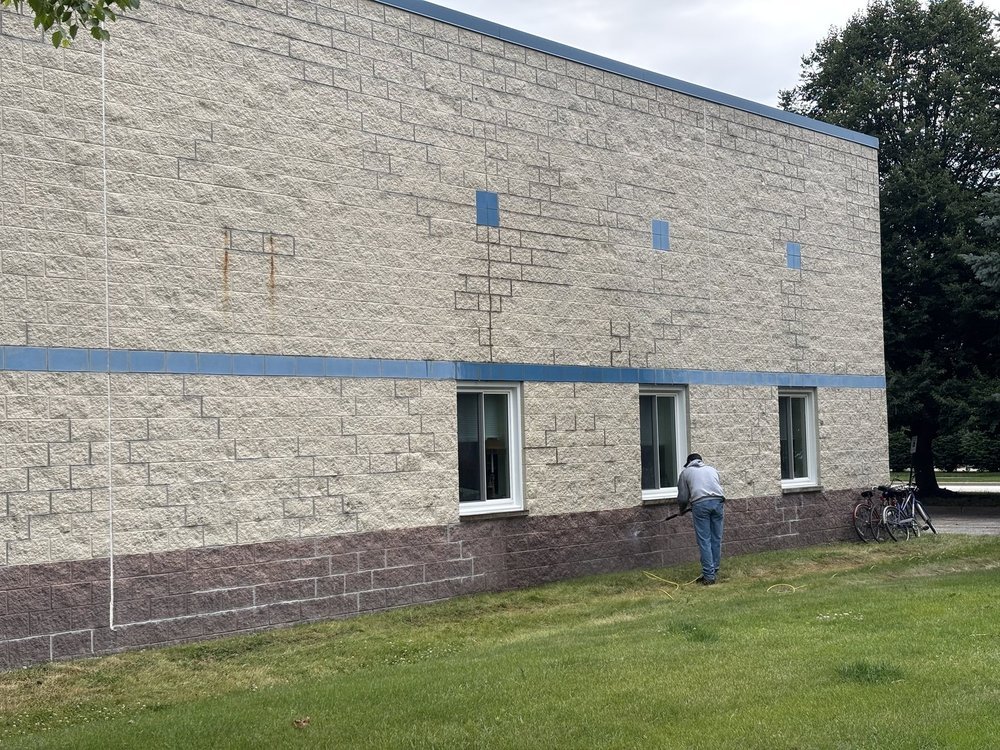
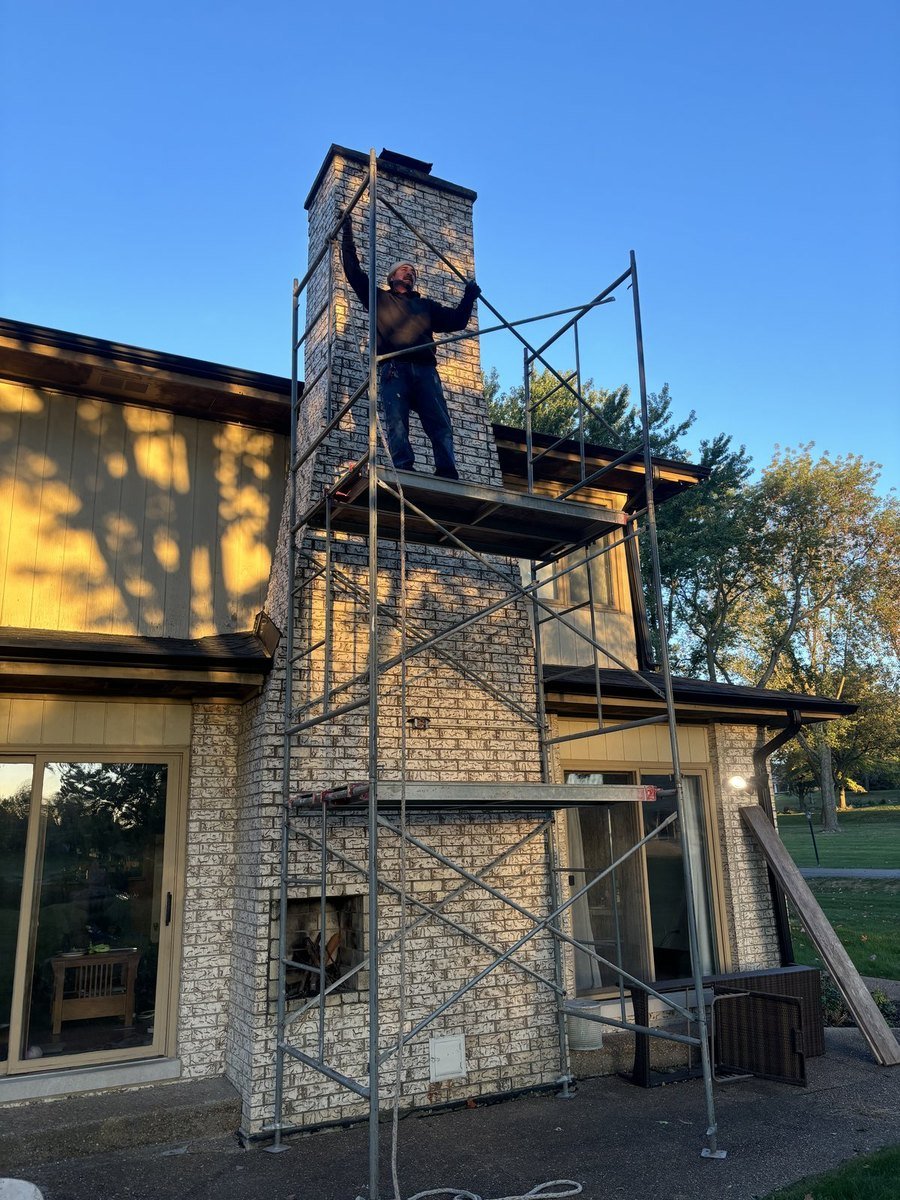
New mortar installed and tooled across every elevation before anything else happens.
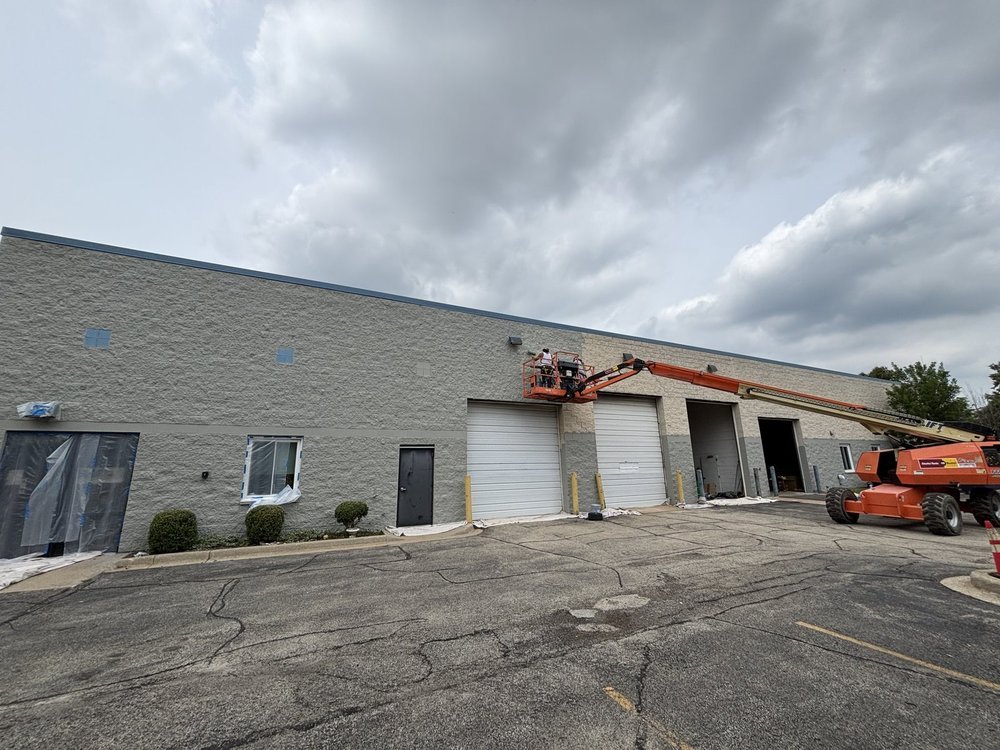
With the masonry sound, a protective coating goes on to keep water out.
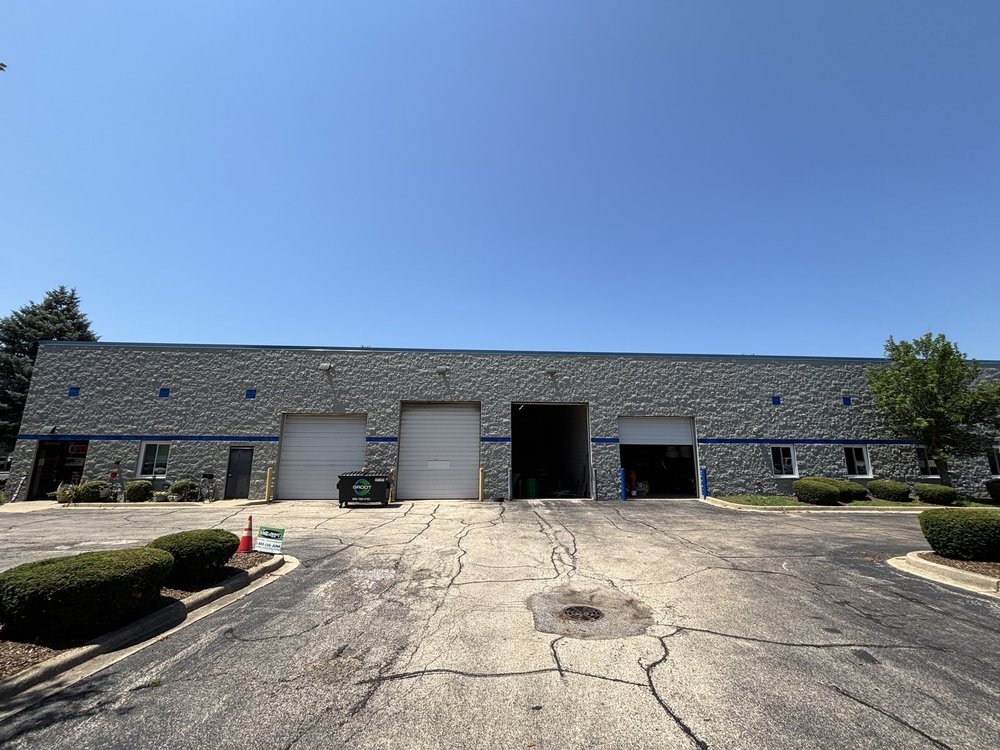
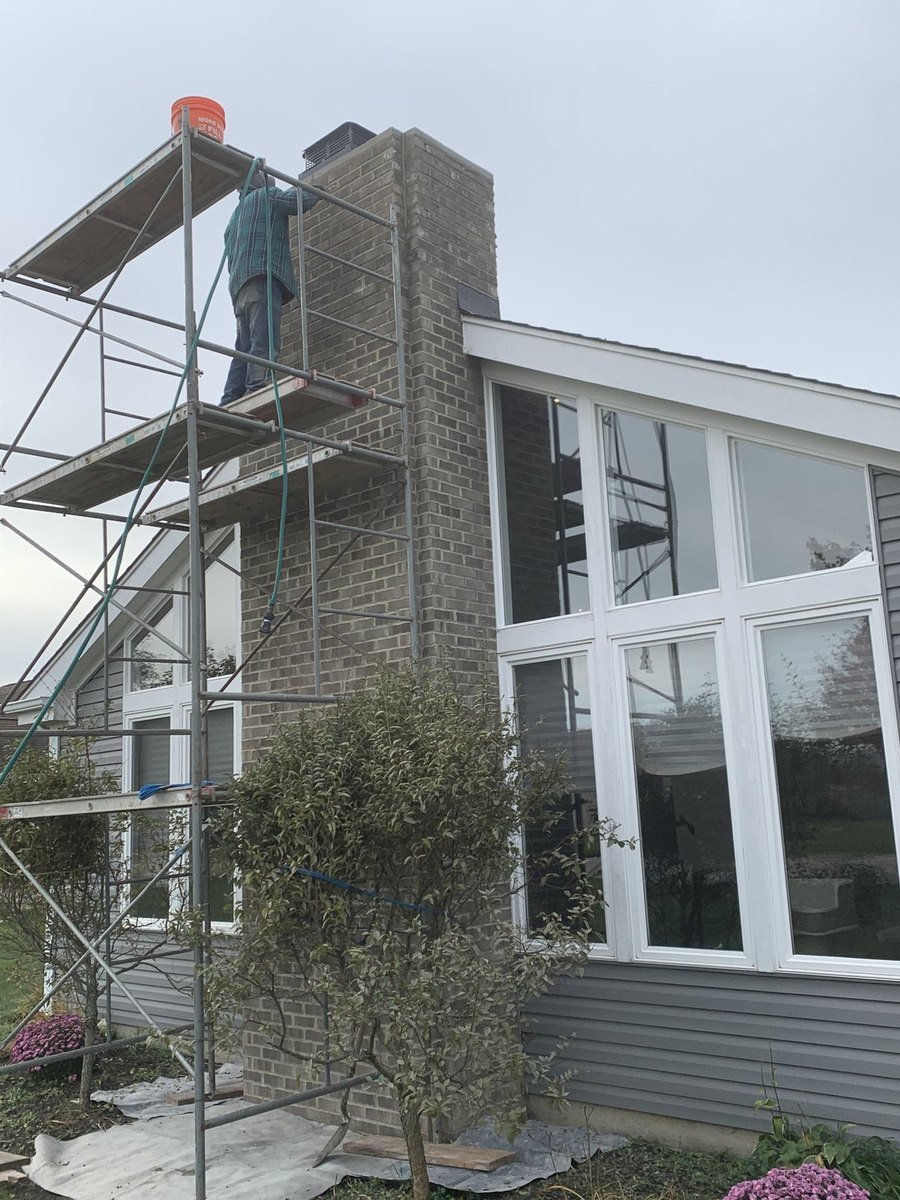
Clean lines, sound joints, and an exterior built to hold up for years.
Send us a few photos of your property and we'll help you figure out the right next step.
Request an Estimate